Have you ever marveled at the rich, deep finish of a beautifully stained piece of furniture and wondered how you could achieve that same effect in your own projects? Staining wood isn’t just about changing its color; it’s about enhancing its natural beauty and durability. Whether you’re breathing new life into an old piece or finishing a brand-new creation, understanding how to properly select and apply wood stain is crucial. This comprehensive guide will explore the world of wood stains, giving a thorough understanding of traditional methods while also introducing you to cutting edge wood stain technology that simplifies the process while delivering stunning results.
Benefits of Staining Wood
While it may seem simple, the main benefit of wood stain is to change the color or aesthetic of the wood surface. A good quality stain can accentuate the wood’s natural grain, bringing out hidden patterns and colors that you might not even notice in its raw state. Additionally, some stains can help protect the wood from environmental factors like moisture and UV rays, which can cause untreated wood to warp, crack, or fade. Staining your wood projects not only enhances their appearance but can also extend their lifespan, making it a worthwhile investment for any woodwork enthusiast.
Composition and Bases of Wood Stains
Understanding the composition of wood stains helps you make informed choices about what’s best for your project. Pigments, binders, and solvents make up the three primary components in wood stains.
Pigments or Dyes
These provide the color. Pigments tend to sit on the wood’s surface, while dyes penetrate deeper.
Binders
Binders help the stain adhere to the wood’s surface.
Solvents
Solvents, or carriers, carry pigments and binders into the wood. The type of solvent used can greatly affect the drying time and the ease of application. Of the 3 components, solvents have the greatest impact on wood stains environmental impact. More on this shortly.
Types of Wood Stains
With an understanding of composition, we can dive into the distinct types of wood stain. Wood stains can commonly be broken down into 4 categories, each named after the base, or primary solvent in the wood stain.
Oil-Based Stains
These are prized for their durability and rich finish. They penetrate deeply and are ideal for high-traffic areas. Some oil-based stains use natural oils as the binder, making them more environmentally friendly. Other oil-based stains use harsh solvents and should be used with proper personal protective equipment.
Water-Based Stains (Acrylic/Latex)
Known for their quick drying times and ease of cleanup. While water-based stains are generally safer and more environmentally friendly than solvent-based stains, they may not be completely free from chemicals that may be considered harsh or toxic.
Gel-Based Stains
These stains are thicker, making them great for vertical surfaces as they do not drip as much. While the thick consistency offers advantages, it also means more effort is needed to spread the stain evenly. This can be more physically demanding, especially on larger projects. Gel stains take longer to dry compared to traditional liquid stains.
Hybrid Stain (Emulsified Oils)
Hybrid stain contains oils emulsified (suspended) in water. These offer the easy cleanup of water-based stains with the durability of oil-based options. Hybrids are the newest stain type. They offer some of the advantages of both oil-based and water-based products but are not as commonly found.
Considerations
Be sure to understand the composition of the wood stain type you choose. Water-based stain is generally more environmentally friendly than oil-based stain, however, the term "water-based" mainly describes the primary carrier used, and these products can still contain other chemical components necessary for performance and durability.
Products like Oil Plus 2C are oil-based, using linseed oil as the binder, which means it is 0% VOC and safe for both the user and the environment.
Choosing the Right Wood Stain
Choosing the right wood stain is crucial for achieving both the aesthetic and functional goals of your woodworking project. The process involves considering several key factors: the species of wood you are working with, the intended use of the item (indoor or outdoor), and the desired color or finish. Here’s an in-depth look at each of these considerations.
Effects of Wood Species
The type of wood you are staining will significantly impact both the application process and the outcome. Different wood species have varying degrees of porosity, which affects how the wood absorbs stain.
Highly Porous Woods
Wood species like pine, fir, and birch are highly porous and tend to absorb stain unevenly, often resulting in a blotchy finish. These types of wood species may benefit from the application of a pre-stain wood conditioner. This conditioner helps to partially seal the wood's surface, promoting a more uniform absorption of the stain. Wood conditioners are typically only recommended for interior staining projects.
Extremely Dense Woods
Hardwood species such as maple, cherry, and alder can also present challenges when staining. Their tight grain patterns and density can prevent stain from penetrating evenly, also leading to blotchiness. Like their more porous counterparts, these woods may also require a pre-stain conditioner to achieve a uniform finish.
Grain Patterns and Features
Woods with unique grain patterns or natural figure (such as birdseye maple or burled walnut) may need special attention to highlight these features without overwhelming them with too much pigment.
Consider the Project Type
The intended use of the stained wood plays a critical role in selecting the type of stain:
Indoor Projects
For furniture and other interior items, the choice of stain will depend on the desired aesthetic and the amount of wear the piece is expected to endure.
Outdoor Projects
Exterior projects require stains that can withstand the elements. Look for products specifically labeled for outdoor use, as these stains contain additives that protect against UV rays and moisture. Exterior stains are often oil-based for enhanced penetration and protection though hybrid options are quickly becoming more and more popular due to being both durable and more environmentally friendly.

Wood Stain Color Selection
Matching the stain color to your room or outdoor setting can enhance the overall design. Always test your stain on a small, inconspicuous area first.
Interior vs Exterior Wood Stains
When selecting a wood stain, it's crucial to choose a product specifically formulated for either interior or exterior use, as each type is engineered to meet distinct environmental demands.
Interior wood stains are designed with aesthetics and compatibility in mind, focusing on enhancing the natural beauty and color of the wood while being suitable for the controlled environment inside homes.
On the other hand, exterior wood stains must contend with much harsher conditions, necessitating features such as enhanced elasticity to cope with seasonable temperature fluctuations, UV stability to prevent fading, moisture resistance to stave off water damage, and durability to resist wear and tear from physical contact. Additionally, exterior stains often contain biocides that help reduce the growth of mold and mildew, critical for maintaining the integrity and appearance of wood in outdoor settings.
Each type of stain is tailored to ensure optimal performance and longevity, making the correct choice essential for any wood staining project.
Interior Wood Stains
As this blog has discussed, interior wood stains typically do not include any protection, and must be top-coated using multiple layers of polyurethane or varnish. In the interest of thoroughness, we will first cover the traditional stain and finish process, followed by a look at using Rubio Monocoat’s interior product, Oil Plus 2C, as an innovative stain and finish solution that is easy to apply and gives a durable long-lasting finish.
Traditional Stain and Finish
As the traditional stain process does not provide protection on interior application, an additional step(s) is required to provide protection on the surface.
- Preparation: Proper wood preparation involves sanding and cleaning the wood.
- Pre-stain conditioner: Depending on the wood species, a pre-stain wood conditioner may need to be applied over the surface.
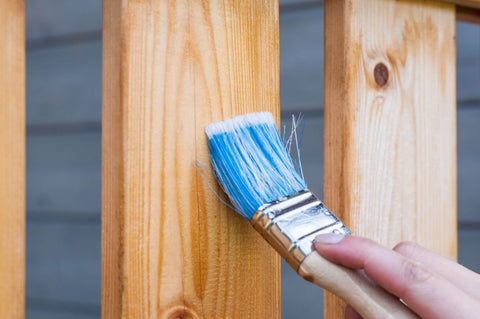
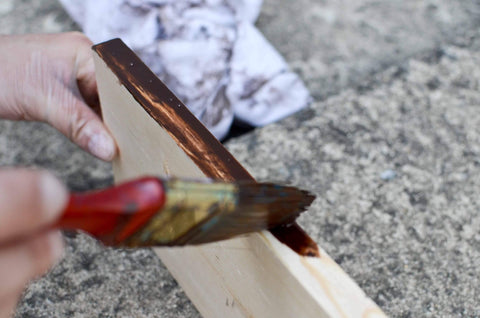
- Staining: Staining is done using a variety of different possible tools. Stain must be applied evenly, and excess wiped off. Most stains require a skillful application, keeping a wet edge to prevent unsightly lap marks.
- Finishing: Once the stain is fully dry, a topcoat must be applied. Depending on the topcoat, it may require up to 3 layers. Each layer requires time to dry and typically requires an intercoat abrasion (sanding/scuffing the surface so the new layer can properly adhere) before applying a new coat.
- Maintenance: Surfaces that have a topcoat are difficult if not impossible to repair. If repairs or required, a complete sand and refinish is often necessary.
Applying Oil Plus 2C
Rubio Monocoat’s Oil Plus 2C is advantageous over traditional stain and finish because it provides both the color and protection in only one layer, thanks to a unique molecular bonding technology.
- Preparation: Like traditional stain and finish, proper sanding and cleaning is required.
- Stain & Finish: Simply apply Oil Plus 2C, allow 3-5 minutes, and remove the excess. The unique technology makes it easy to work with, and the product will not lap during application.
- Maintenance: Again, the molecular bonding technology allows for local repairs. If raw wood is exposed, simply wipe some oil in the original color on the wood, wipe off the excess, and the repair is complete.
Exterior Wood Stains
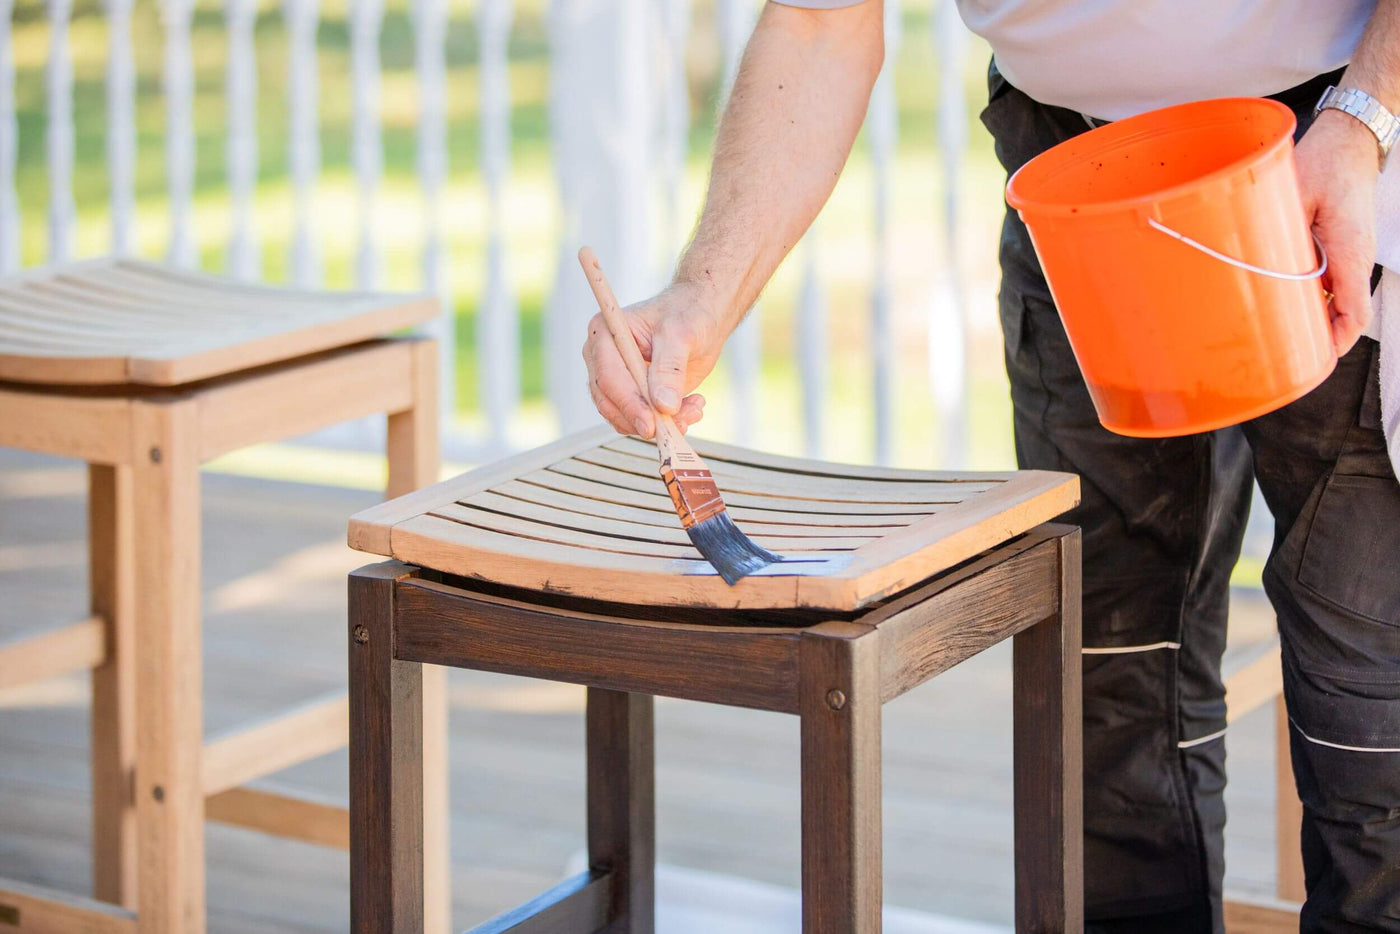
As we've explored, exterior wood stains differ significantly from their interior counterparts, primarily because they include built-in protective features to withstand the outdoor environment. Most formulations apply in 1 or 2 coats and are more penetrating than film building.
Application Steps
- Preparation: Proper wood preparation involves cleaning the wood, sometimes requiring sanding.
- Stain & Finish: Most exterior stains are brush-on finishes but may also be sprayed on. Stain must be applied evenly, and excess wiped off. For products that require a 2nd coat, it is usually performed while the first coat is still wet.
- Maintenance: Maintenance on exterior wood stains is done as needed, with annual checkups after the winter season.
Rubio Monocoat’s DuroGrit provides exceptional durability and weather resistance for exterior wood projects. It is a hybrid wood stain with best-in-class performance.
Advanced Tips and Tricks
Staining Mixed Wood Types
When dealing with projects that incorporate multiple types of wood, achieving a uniform finish can be challenging due to the varying absorbency rates and natural colors of different wood species. It is recommended to choose a darker color as it will mask the difference in substrate color most efficiently.
Custom Mixing Wood Stains
If a certain stain color is desired but not standard, most stains allow you to mix product colors together to create custom colors. Write your custom color formulation down and store it in a safe place, so you can reference it later if needed. Always test your custom mix on a scrap piece or an inconspicuous area first to ensure the color meets your expectations before applying it to the entire project.
Fixing Staining Mistakes
Mistakes during the staining process, such as drips, runs, or uneven application, need to be addressed promptly to ensure a smooth, professional finish. For drips or excess stain, gently wipe the area with a clean cloth dampened with mineral spirits (for oil-based stains) or water (for water-based stains) before the stain dries. For uneven areas, lightly sand the imperfection once the stain has dried, and reapply the stain carefully. Keeping a watchful eye during the application will help you catch and correct these issues swiftly. Our advice? Save the hassle and use Oil Plus 2C! It’s easy to work and won’t lap on you during application like a traditional stain will.Seasonal Considerations
The time of year can significantly impact the results of your staining project. Ideal staining conditions are typically found during mild weather when humidity is moderate. High humidity can slow drying times and affect how the stain sets, while too low humidity can cause the stain to dry too quickly, potentially leading to lap marks and uneven coloring. Temperature also plays a role; too cold and the stain may not adhere well, cure properly or could freeze, too hot and it may dry too quickly. Aim for staining in temperatures between 50°F and 80°F and (in case you are staining exterior wood) when the weather is expected to be dry for at least 24 to 48 hours.
Conclusion
Wood staining is more than just a step in finishing a project—it’s a crucial technique that can dramatically affect the longevity and appearance of your wood. With the right knowledge, products, and techniques, you can achieve professional-looking results that last for years. Whether you’re a beginner or a seasoned pro, incorporating Rubio Monocoat’s innovative products into your work will ensure that each piece not only stands out with exceptional beauty but also stands up to the test of time. This guide aims to provide you with all the information you need to select and begin applying wood stains effectively, ensuring that your woodworking projects are as beautiful as they are durable.
View Stain & Finish Colors